Creating Menu Bar Apps in SwiftUI for macOS Ventura
Creating menu bar extras for Swift UI Apps used to be a rather tedious task since there was no native SwiftUI solution to this problem. Instead, the MenuBarExtra had to be implemented in AppKit, requiring an AppDelegate file.
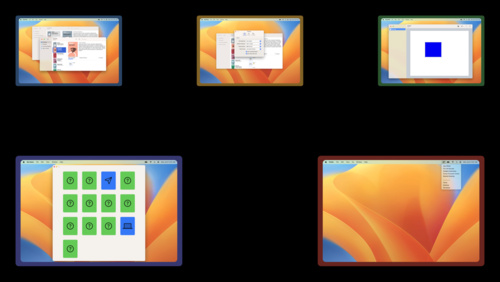
With macOS 13 Ventura, though, Apple finally provides a way to do MenuBarExtras the SwiftUI way. It was first introduced in the WWDC Talk “Bring multiple windows to your SwiftUI app” and makes writing Utility apps in Swift UI a walk in the park.
Rather than fiddling around with AppKit, MenuBarExtras can now directly be added to the body of your App alongside your Windows or WindowGroups.@main
@main
struct UtilityApp: App {
    var body: some Scene {
        MenuBarExtra("UtilityApp", systemImage: "hammer") { ... }

        WindowGroup{ ... }
    }
}
MenuBarExtras most of the time take three parameters:
TitleKey: A string that identifies it. Most probably the name of your appImage: The symbol shown in the menu bar. Preferably, aSFSymbol. This way you get the light and dark theme behavior out of the box.Content: This can be virtually anything. It depends on the chosen style how it’s rendered, though.
There are two predefined styles for MenuBarExtras:
Menu
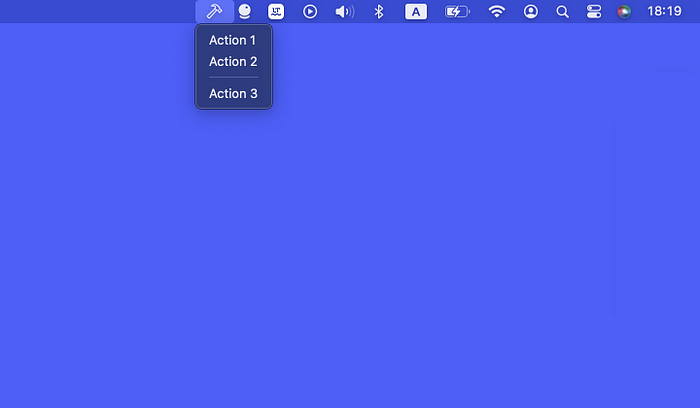
The easier of the two is .menu. It’s the default style and renders the content of your Menu Bar Extra as a standard menu.

@main
struct UtilityApp: App {
    var body: some Scene {
        MenuBarExtra("UtilityApp", systemImage: "hammer") {
            AppMenu()
        }

        WindowGroup{...}
    }
}
Here’s an example of what the App Menu view of the screenshot above looks like. It is worth noting that not all types of views will be rendered as you might expect in menu style.
For instance, button styles will be ignored to fit the overall style of macOS menus. Views like images will be ignored completely. This style is mostly limited to text, buttons, and dividers, but is handy for applications that don’t require rich UI.
struct AppMenu: View {
    func action1() {...}
    func action2() {...}
    func action3() {...}

    var body: some View {
        Button(action: action1, label: { Text("Action 1") })
        Button(action: action2, label: { Text("Action 2") })

        Divider()

        Button(action: action3, label: { Text("Action 3") })
    }
}
Window
Window style allows you to render any kind of content into the MenuBarExtra’s popup and can be used for apps that require more custom controls like sliders or switches.

In order to enable window style, add the .menuBarExtraStyle modifier to the MenuBarExtra and set it to .window.@main
@main
struct UtilityApp: App {
    var body: some Scene {
        MenuBarExtra("UtilityApp", systemImage: "hammer") {
            AppMenu()
        }.menuBarExtraStyle(.window)

        WindowGroup{...}
    }
}
Hiding the Application from the Dock
If your app only consists of a MenuBarExtra and no additional windows are needed, you’re free to delete the WindowGroup completely. In those cases, you most probably don’t want your app to show up in the dock, either.
This can easily be achieved by making your app an Agent Application by setting Application is agent (UIElement) to YES in your app's info.plist. Agent Apps don’t show up in the user’s Dock.

Check out the utility app I wrote for free! It’s called HokusFokus and helps you focus better on the active app by fading out all the clutter on your desktop.

Hope that's enough to get you inspired to create your first menu bar application.
XOXO, Christian 👨🏻💻


